The History of Herbal Salves and Poultices
Topical remedies have been around as long as there have been topical maladies. Treatments from yucca root lathered into a shampoo to treat dandruff to foot baths made of walnut and oak bark to treat gout and fungal infections.
Poultices
A poultice is the simplest form of topical herbal medicine. Maybe the simplest form of all herbal remedies. Poultices are nothing more than grinding and mixing whole fresh or dried herbs to create a paste and applying them directly to the skin to treat skin or muscle ailments.
These uncomplicated formulas have been being used for centuries and in many different cultures. Ancient Egyptians used honey and tree resin for many topical indications. Pitch (which is made from pine resin) was warmed and made into a putty like substance and applied to draw out embedded splinters. Honey has amazing healing properties as well as an anti-microbial nature. Which makes it wonderful alone or mixed with herbs such as Myrrh which can clean and treat wounds.
In Greece, the cannabis plant was used in poultices. The root of the plant would be boiled and then applied to joints that had been inflammed due to gout. The leaves of the cannabis plant would also be chopped up and mixed with vinegar, pitch, mustard, wheat-chaff and wax and applied to wounds on horses!
In India and the Ayurvedic medicine herbs are not used to treat specific maladies as in other medicines, but rather to treat the whole body. It is believed that illnesses and even how your body treats an injury is a result of the overall mind, body and spirit's health. However, poultices are used many times for inflammation and relaxation purposed. In these practices, herbs are put into a cloth and tied. The cloth is then placed in warm oil and then onto the skin.
In the United States, ancient Hawaiians would use make ginger root into a paste and shape it to cover a tooth for a toothache. Additionally, Native Americans would grind up slippery elm bark between two flat rocks for burns, wounds and ulcers.
During the 17th and 18th centuries poultices were an easy way to treat injuries and other skin problems. Dandelion was used for itchy skin and rashes and cabbage leaves were (and still are) applied to swollen breast of nursing mothers. At times it was as simple as going into their garden or root cellars. During the Revolutionary War potatoes were used as a poultice on soldiers wounds to draw out infection.
Salves
A salve is when the herbs are added to an oil, usually infused into and not used when whole. Sometimes a beeswax is added to make a more solid salve or to help seal in moisture. Infusing the oils mostly involves heating but some oils are best infused by leaving them in the sun like a beautiful saint john's wort oil.
Historically, many cultures used castor oil which is made by pressing castor beans as the carrier oil. A favorite of ancient Egyptians, herbs such as Mandrake Root were added to the castor oil and heated. The infused oil was then applied to sore joints and insect bites among other things. Mandrake root oil is analgesic and anesthetic.
Many salves and other medicinal remedies of the ancient Egyptians were preserved in the Ebers Papyrus which dates back to 1550 BC. It speaks to using castor oil mixed with not only mandrake but also juniper, pomegranate juice and root and thyme.
Native Americans many times used bear fat or fat from a boar to make their salves. Greenbriar may have been added to treat minor sores or burns. Additionally, birch and hemlock barks were sometimes made into a salve to use as an antiseptic for cuts and to treat skin conditions such as excema. Pine resin was also used to aid sore muscles and joints.
While most salves are made with whole fresh or dried herbs that are infused into the carrier oil, African tribes use dried roots and herbs that are burned to ashed before being mixed with the oil. Another way their approach differs is that instead of being placed on the skin, the ointment is then rubbed over small incisions in the skin which is thought to help the body absorb the healing properties better.
Salves and poultices have been around since the beginning.They are also two of the easiest to make. But yet, they seem the most intimidating. Our society has become accustomed to taking a pill or throwing on a ready made ointment instead of just reaching outside our doors for the answer. Our skin is great at obsorbing and distributing the helpful elements where they need to go. Unfortunately, that also means that the extra chemicals found in many over the counter topical treatments are also being absorbed.
I hope through this month's study, you will learn to make your own and make some for those around you. This way you can know what is going on and IN your skin.
Basic Salve Making/Anti-Itch Lotion
Topical Remedies
As we talked about in the first section, there are several types of topical remedies in herbal medicine. Poultices, salves, lotions and liniments (which we will talk about more next month) are the main types. There are many variations of these. Everything from a simple application of fresh aloe to complex facial creams. What I am hoping to teach you this month, is how you can take a simple recipe and "tweak" it to suit your needs. Change the oils or herbs, add vitamin e or essential oils. Use these recipes as is or as a jumping off point for your own medicine making.
Poultices
As basic as it gets is a "spit poultice". This method isn't for everyone and isn't for every poultice. We used them often when we are at the park and get a fire ant bite or other small scrape. Picking a piece or two of plantain and chewing them slightly to "bruise" the leaves. You then take the damp herbs and place them directly on the wound or bite.
Another type of poultice involves mixing whole fresh herbs with water or oil (sometimes honey as discussed in the first section) and applying them directly to the skin or in a bundle and soaked in oil or animal fat and applied. An example of this type of poultice would be the cabbage leaf put on the engorged breast of a nursing mother. Also applying comfy leaf to a burn or wound. These are often held in place with a bandage or piece of cloth.
Additionally, poultices made with clay are a great option for drawing out infection or to calm nerves. This poultice recipe is one that I created for my mother when she had shingles and gave her great relief. This recipe has since been used by others with the same effects.
Shingles salve paste
Ingredients:
Peppermint
Lemon Balm
Goldenseal
Rosemary
Tea Tree Oil
Clay (French green clay, European clay powder, etc)
Instructions:
Take a small, equal amount of each thing except the tea tree oil and clay.
Add a couple cups of water and boil until about half the water is gone.
Strain it (throw away solids), then add a couple drops of tea tree oil.
Add enough clay to make a paste that you can spread on the affected area.
Leave on about 15-20 minutes (it will dry out after a little bit).
Basics of Salve Making
Making salves is easier than it seems. Many people are intimidated by this remedy with little need to be. There may be some trial and error until you find the consistency you want as some people want a more firm lotion than others. Below is a basic recipe that you can add different herbs to and try different carrier oils. Make this your own.
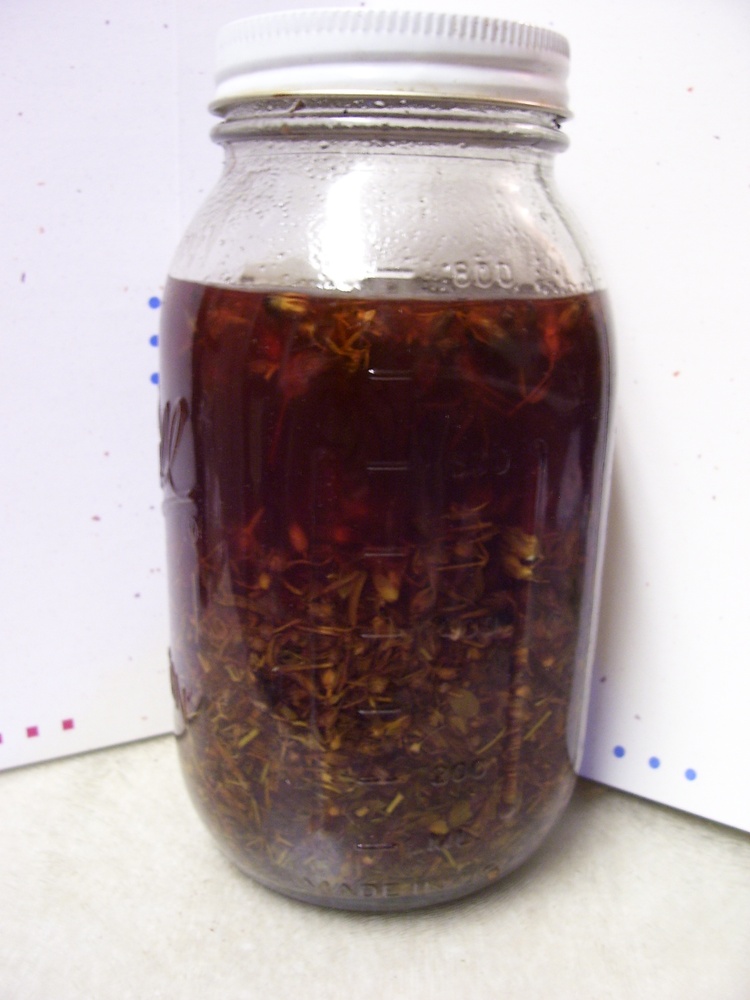
Salves start with an infused oil. There are two ways to infuse an oil. The first is with time. Much like a tincture, you can add the desired herbs to a bottle of oil (you can use the bottle that the oil comes in if you empty a little of it out first). Many people prefer this method for more delicate herbs like Saint John's Wort. This process involves adding the fresh herbs to the oil and leaving it (some people say in the sun) for a month or more.
A second, quicker method is to infuse the oil with heat. This process, while faster, requires much attention and watching the oil. For this process, use a double boiler and place the oil of your choice (olive, hemp seed, grape, almond etc). Add fresh or dried herbs to the oil and allow to be in the warm oil for at least an hour. You need to keep a very close eye the oil so that you do not end up "deep frying" your herbs. Some oils will boil at a lower temp than others so it is imperative that you watch it very closely. Additionally, keep an eye on the water level as you may need to add more part way through. Your oil will be ready when the herbs have been incorporated into the oil which is generally visible by color changes in the oil. When finished strain the herbs and reserve the oil. These oil can be stored for several months to several years depending on the oil type and amount of water in the initial plants.
Once you have infused the oil, you can move on to making your salve. Below is a basic recipe for a salve that you can change for your needs.
Basic Salve Recipe
10-20 drops of essential oils (depending on preference and amount of oil used)
1 Parts natural beeswax
4-8 Parts herb infused oil (4 parts oil will give you a firmer salve almost like a lotion bar. 8 parts oil will give you a creamy salve like a neosporin)
Add beeswax (err on the side of caution by adding less than you think you will need to start. You can always add more beeswax if needed but you can't take it out once it's there) and essential oil to warm infused oil. You may need to return oil to the double boiler if it has cooled too much. Stir until beeswax is dissolved. It will appear that there isn't enough beeswax when it is warm. Do not let this fool you. Add to jars and cover. Once cooled, you will know if you added enough beeswax. If you would like your salve thicker/more solid you can rewarm and add more beeswax.
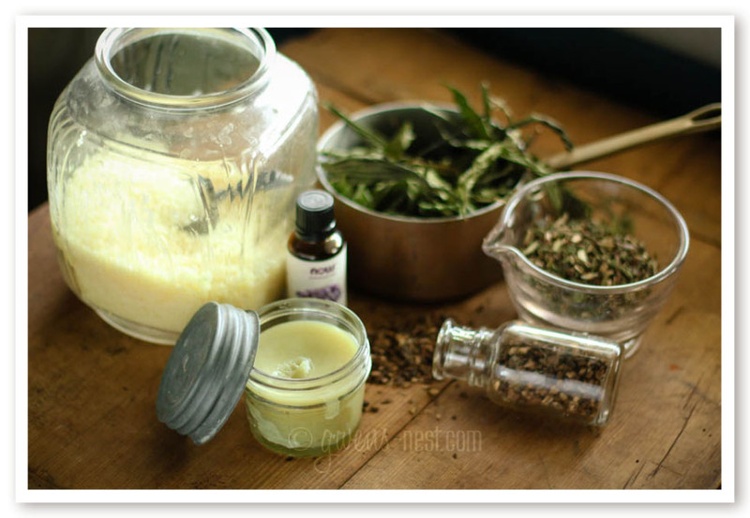
Lotions
Lotions are very similar to salves with one major difference, the beeswax. They generally are made with an infused oil and coconut oil. The attached recipe is for my anti-itch lotion. In order to incorporate the oil into the coconut oil, a food processor works best. You could also use a stand mixer or electric hand mixer to reach the same effect. However, you can use just a simple whisk if that is all you have. If you decide to use a whisk, you will either need to whisk for a while as you would egg whites to make meringue or you will need to mix as well as you can and the lotion will separate between uses. This is not a problem. I made my lotions this way for many years. It will simply require you reheat the lotion when you want to use it (a microwave for a couple seconds works fine). Once it is warm, replace the cover of the jar and shake to re-mix.
Topical remedies have been around a long time. We still use them now any time we use a hand lotion, neosporin or calamine lotion. These are just more simple, natural ways to do the same thing. Play with the recipes and create your own formulas. You will be happy you did.

No comments:
Post a Comment